Laptop Cleaning
Cleaning your laptop may not be the most exciting way to spend a few minutes of your time, but consistent laptop cleaning really can pay off in the long run. By committing to consistent cleaning, you can help remove fingerprints and dust, prevent keyboard and touchpad issues, and reduce your exposure to germs. We’ve included a rundown of steps to take when completing a cleaning of your device.
Steps for Laptop Cleaning
First, gather the necessary materials. These include a cannister of compressed air, cotton swabs, a lint-free cloth, and an appropriate cleaning solution. We recommend isopropyl alcohol with at least 90% concentration or a cleaner designed specifically for electronics. Liquids like water or Windex can damage your device.
Next, shut down your laptop and unplug it from all power sources. Remove the internal battery as well, if possible.
After washing and drying your hands, begin cleaning.
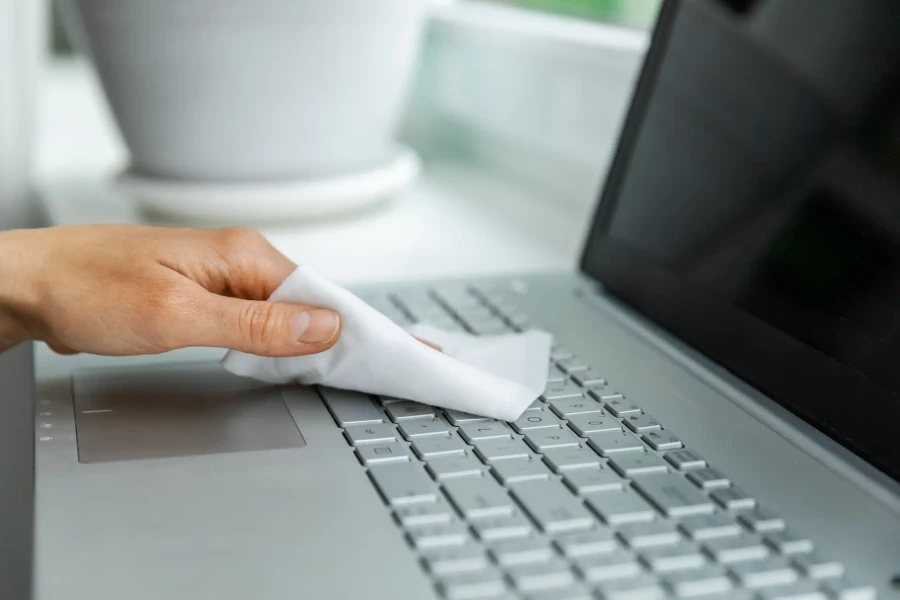
Start with the exterior surfaces. Apply the cleaning solution to the cloth and gently wipe the laptop’s touchpad, keyboard, screen, and outer casing. When cleaning the screen, wipe the screen in a gentle and circular motion.
Carefully tilt the laptop to see if any loose debris falls out. Then, use the cannister of compressed air to blow around the keyboard keys to remove trapped debris. Keys with remaining debris or stickiness can be cleaned by applying a cotton swab dipped in cleaning solution.
Finally, tackle the vent and fans with the compressed air cannister. Preventing debris from accumulating here can help prevent overheating. Make sure the cannister remains upright and refrain from long bursts of air which can allow liquid to spray out.
Upon completion, wash and dry your hands to remove any debris or cleaning solution. Turn on your laptop again once all solution has completely dried and enjoy using your clean device!

